Drawing a Dinosaur

I was recently contacted by the band “We Believe in Dinosaurs” to illustrate a book based on one of their songs. For those of you who are unfamiliar with them, We Believe in Dinosaurs  is a fun band from Vermont that plays kid’s songs. I spent many an hour drawing dinosaurs as a child, so I was excited to draw a book featuring dinos as an adult.

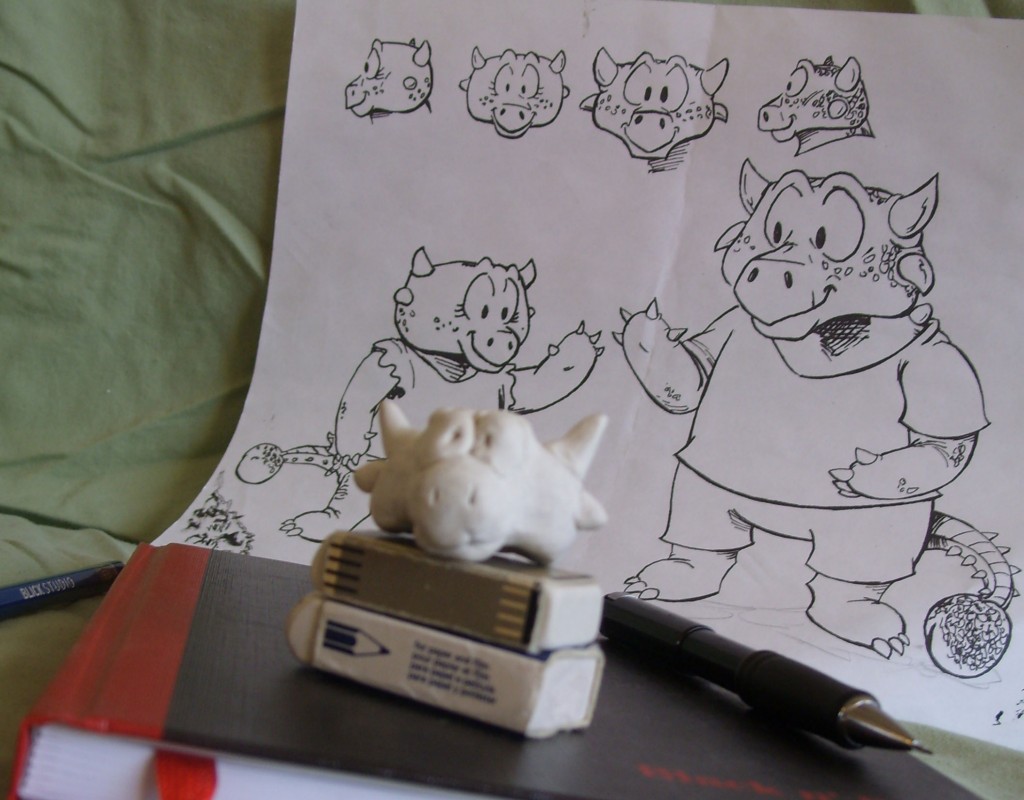
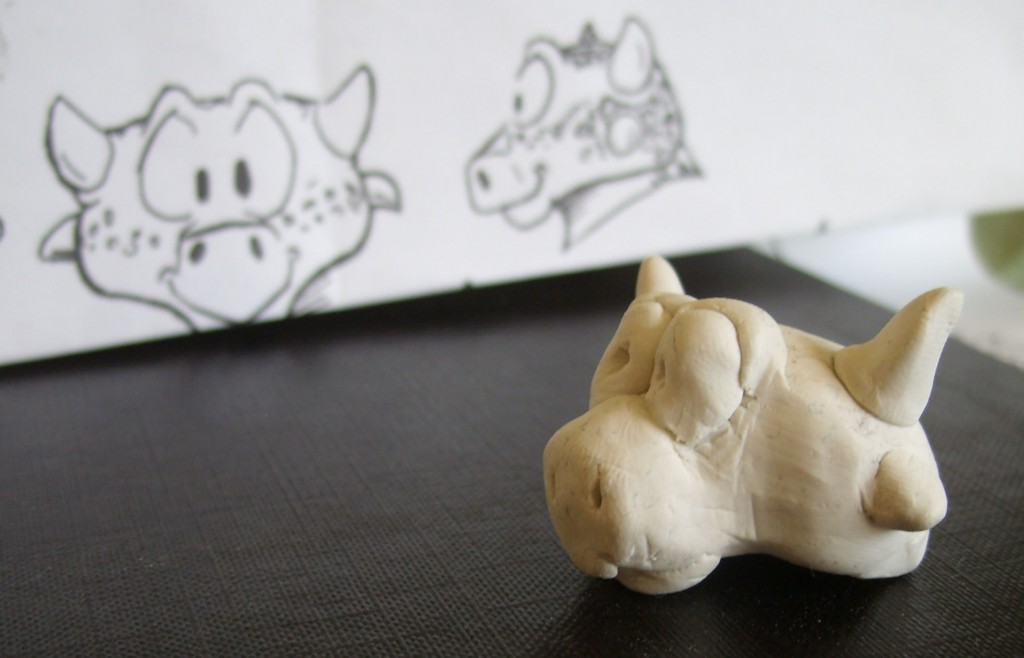
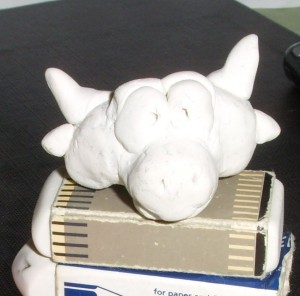
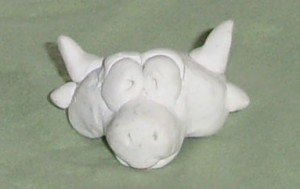
The lead character, an ankylosaurus, with the snout and two sets of horns had one of the most complex heads I had drawn in one of my books. And I realized that I needed some way to keep him right no matter the angles.

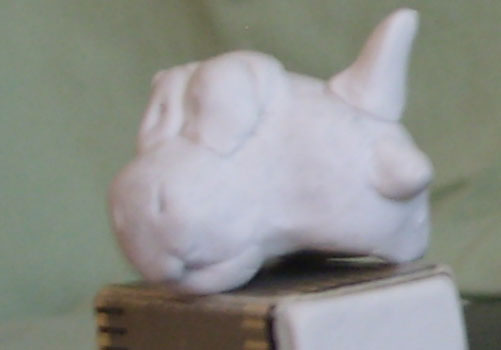
So I built a model. It’s my first attempt at building a little model like this, and I’m quite proud of how it turned out. So I thought I’d show off a few photos of the model. A special thanks to my wonderful wife for taking the photos. (Click on the photos to view them larger)

 STP84167STP84169STP84163STP84155STP84150

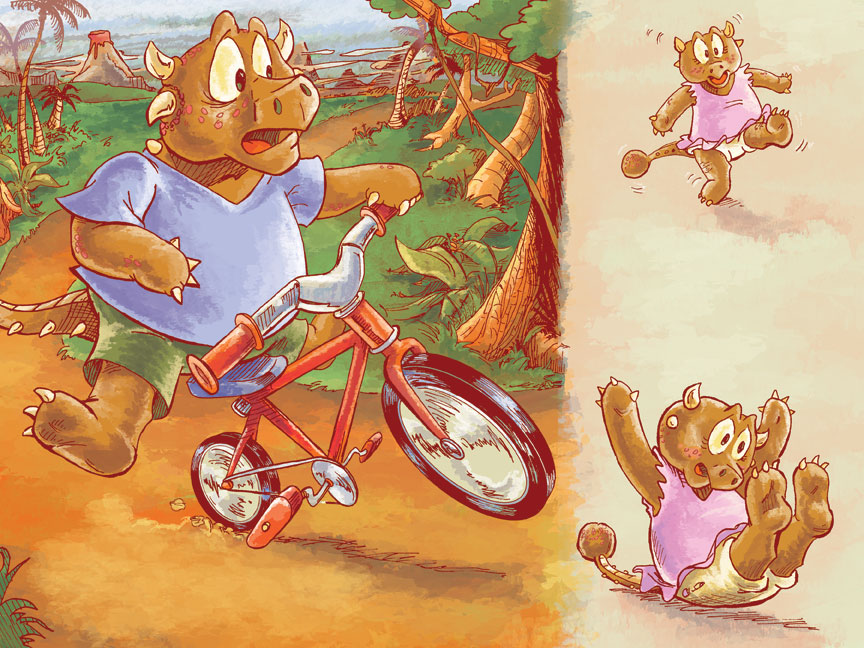
And here’s an image from the book.

DinoPractice10-11Final

Currently, the book is only available on the band’s website (which you can find here.)

Creating Eartha

I’ve just begun work on a new children’s book and have spent this week designing the main characters. Character design is equal parts exciting and frustrating, as I synthesize what the author has imagined with my artistic vision. Sometimes I get it right in one try. Usually, this takes a few revisions. I can’t show any of the work from my new book yet, but I thought it would be interesting to show the character design process from a previous book.

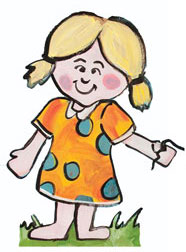
I worked on  “Eartha Gets Well” last Spring. It’s written by the husband and wife team of Kristi Falk and Dr. Daniel Falk and published by BQB publishing. This book was unusual in that an earlier form of this story had already been illustrated by a different artist. I was provided with a few samples of the other artist’s work and told to model my “Eartha” character on the original. Here is an example of the original art (and I apologize, but I don’t know the other artist’s name):


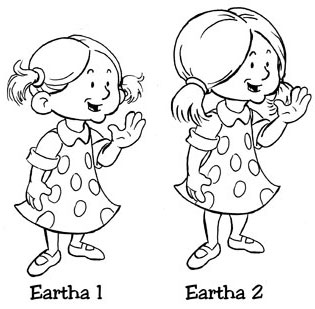
So I did a bunch of preliminary sketches (which I didn’t save) and showed two options to my editor:

I was trying to keep the same basic face shape and clothing, but adapted to my drawing style.

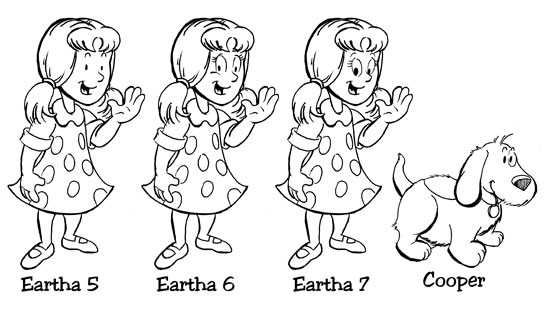
Neither of these were quite right, so I tried a few variations on face shape, hair style and even eyes. I’ll omit some of these versions, and skip to the three eye variations I provided, alongside her dog Cooper.

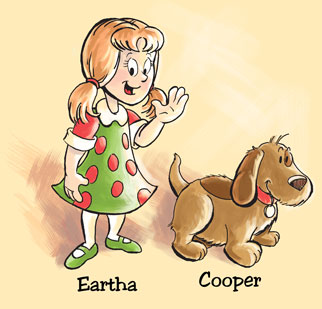
Finally, Eartha’s design was approved! I added some color, and here is here final design:


If you’d like to see Eartha in action, you can get her book “Eartha Gets Well” at this Amazon link:


Making Art– Pottleplum’s Bottle

People often ask me how I go about creating an illustration for one of my picture books. So I decided to walk through the process with a page from one of my latest books: Pottleplum’s Bottle by Eva Hwa.

After I’ve read the story and talked over possibilities with the author, I begin with a few rough sketches. unfortunately, I didn’t save any of these thumbnail roughs for this page. These are generally no more than a couple of inches tall and mostly incomprehensible to anyone but me. When I hit on a  composition I like, I sketch out a detailed version in pencil at the full print size.  (You can click on any image to view it larger).
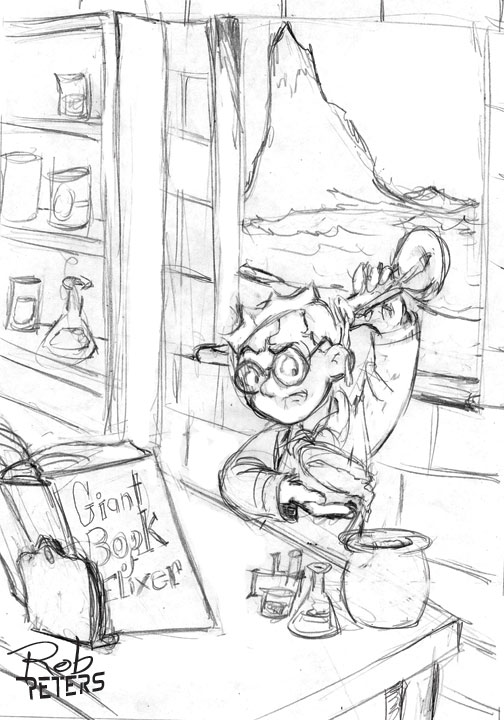
I then send this sketch to the author for her approval.  There’s often a period of revision here, as elements are tweaked to fit the author’s vision. But not this time, Eva approved the sketch on the first try.

Once I had the approval, I began to work on the final art.  I enlarged my approved sketch and used it as my guide to draw the final ink lines. I usually draw the art slightly larger than print size so that I can pack more detail and tighter lines into the smaller space. In this case, I drew the art 15 in x 10.5 in for a final print size of 10 x 7. The art is done very traditionally, with ink on paper. I mostly use the Rapidograph pens by Koh-i-noor.
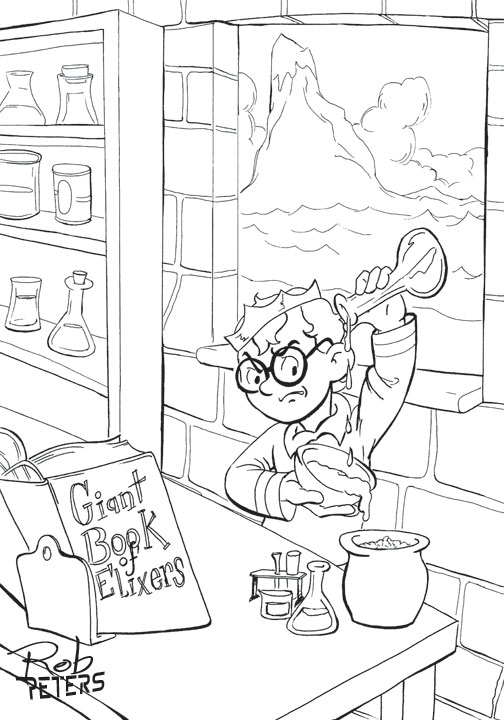
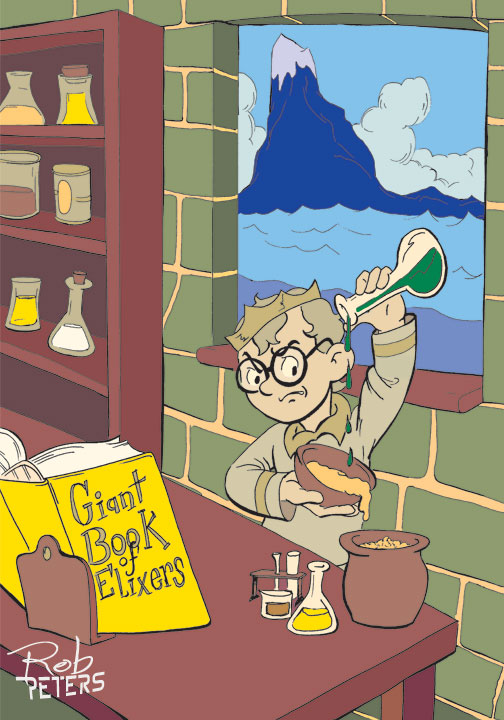
The art is now scanned into the computer and taken into Photoshop for the coloring. Sometimes I use physical coloring methods like painting or markers as well. (Remind me to do a post about that sometime.) I begin by laying in the flat colors without variations in tone or shadows. At this stage, I’m trying to make sure that the colors are balanced and work well together. For this story, I was also trying to use color to portray emotions as well.
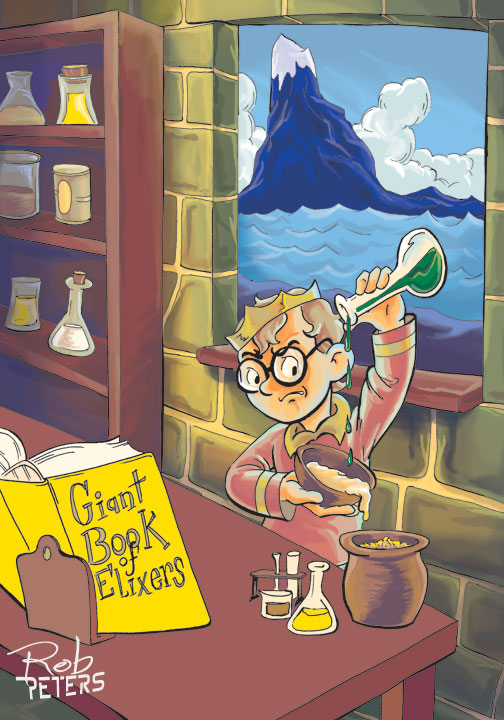
Once the entire image is colored in flat, and I’m reasonably happy with the flat colors, I begin the final coloring process. This is reasonably similar to traditional painting, only digital. Here’s a look at things halfway through.
As I worked, I decided that there wasn’t enough color in the Prince, so I changed the colors of his clothing and skin tone. And then, finally, I’m done! The whole process, from rough sketch to final art took less than two days.
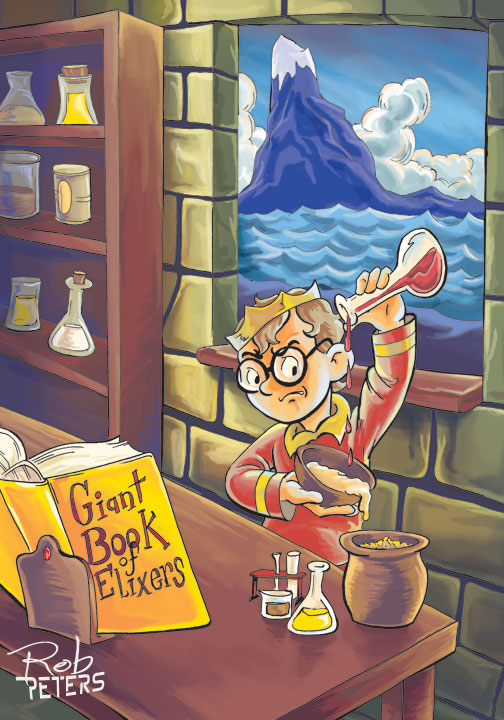
 If you’re interested, you can see the final art in all it’s glorious printed form by buying the book on Amazon at this convenient link: